![How To Mod a Gaming Keyboard [Step-by-Step] How To Mod a Gaming Keyboard [Step-by-Step]](https://gamingbar.in/wp-content/uploads/2024/02/How-To-Mod-a-Gaming-Keyboard.jpg)
Are you bored with the looks of your ordinary gaming keyboard?
Do you want a keyboard that perfectly fits your gaming style and preferences?
If yes, you’re in the right place.
Keyboard modding is a cool way to customize your keyboard.
It can give your gaming setup a fresh and exciting look, enough to make your friends jealous. 🔥
You might be wondering, “Is keyboard modding for me?”
The answer is yes; it can be for anyone who wants to elevate their gaming experience.
Whether you’re a casual gamer looking for a more comfortable typing experience, an eSports enthusiast aiming to gain a competitive edge, or simply someone who wants to infuse a dash of personality into their keyboard – modding is for you.
Now, why should you consider modding your gaming keyboard?
The reasons are as diverse as the gaming community itself.
It’s about improving the feel of your keys, enhancing performance, and giving your keyboard a unique identity that mirrors your gaming persona.
We’ll guide and help you with how to mod a gaming keyboard in very few easy-to-follow steps.
Whether you’re a beginner or a seasoned gamer, there’s something here for you.
Let’s get started!
What are the Benefits of Modding a Gaming Keyboard?
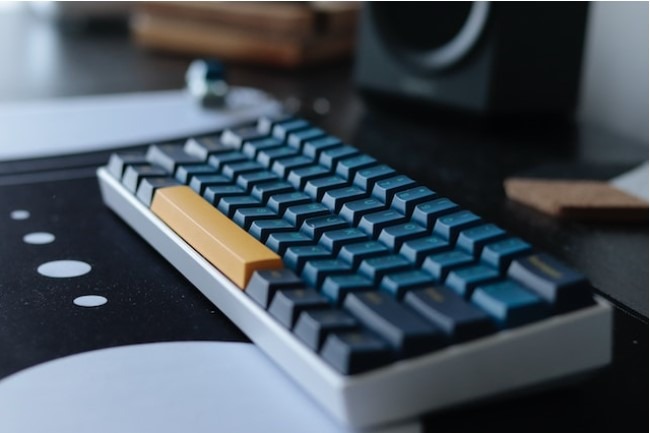
Keyboard modding doesn’t just help to improve the looks of your gaming keyboard.
There are many other advantages like better sound, feel, performance, and customization options.
- Sound: To make your gaming quieter, you can use things like silencing rings or lubing switches to reduce the noise when you press the keys. This won’t affect how well your keyboard works.
- Feel: If you want your keyboard to feel smooth when you type, you can put a special lubricant on the switches. It’ll make your keyboard feel great when you touch the keys.
- Performance: To make your keyboard perfect for gaming, you can change the switches to ones that are just right for you.
You can also adjust how far the keys go down when you press them and make sure they all need the same amount of force to work well. - Customization Options: You can have fun customizing your keyboard by changing the keycaps to different styles or materials. You can also pick switches that need more or less pressure to suit how you like to play games.
What Are The Basic Types of Gaming Keyboard Mods?
Let’s understand the basic different types of mods that can elevate your gaming experience.
Each type of keyboard mod is very interesting and helps you design the perfect keyboard.
Keycap Mods
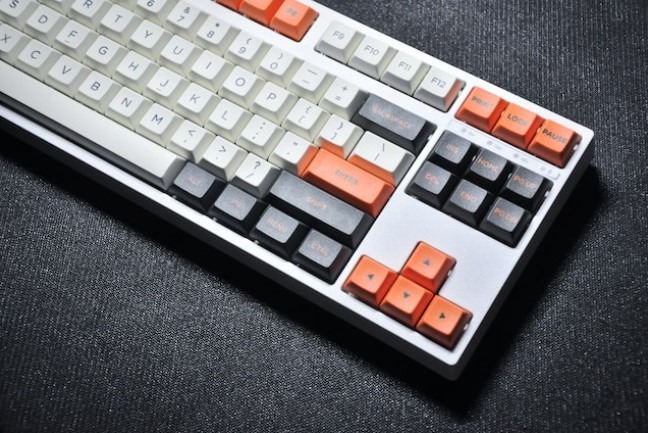
Imagine your keyboard’s keycaps as its “face.” You can change the way it looks and feels by customizing these keycaps.
Keycaps come in various materials, colors, and designs; you can pick any to match your style and gaming setup.
Whether you want a comfortable feel for gaming or a classy look for typing, you can get your keycap accordingly.
Here are some different types of keycaps:
- ABS keycaps: ABS keycaps are the most common type of keycap. They are made of a durable plastic material that is resistant to wear and tear.
- PBT keycaps: PBT keycaps are made of a higher-quality plastic material than ABS keycaps. They are more resistant to shine and have a textured surface that provides a good grip.
- POM keycaps: POM keycaps are made of a hard plastic material that is known for its smooth feel and deep sound.
Switch Mods
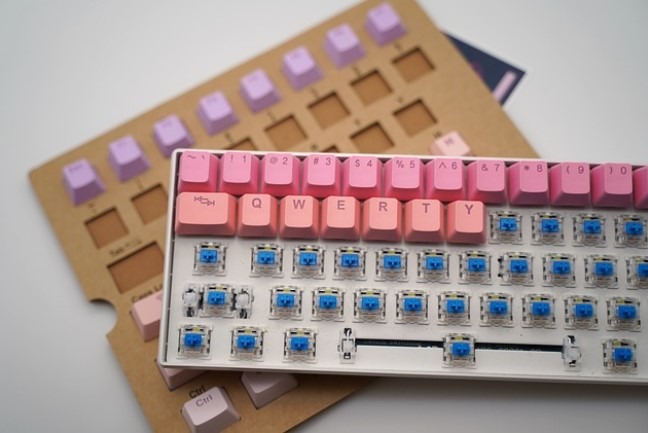
The switches inside your keyboard are what make each keypress unique. They affect how your keyboard feels and sounds.
You can make your switches smoother and quieter by adding some special lubrication.
Here are some different types of keyboard switches:
- Linear switches: Linear switches have a smooth, linear travel with no noticeable bump. They are popular for gaming and typing because they are fast and responsive.
- Tactile switches: Tactile switches have a small bump at the actuation point, which provides tactile feedback when you press the key. They are popular for typing because they provide a satisfying typing experience.
- Clicky switches: Clicky switches have a bump and a loud click at the actuation point. They’re popular for gaming because that click sound is just so satisfying.
Case mods
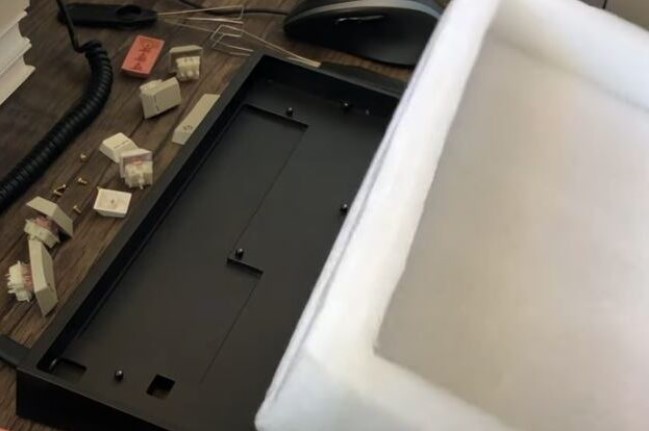
The keyboard’s case holds all your keyboard parts together, and you can modify it for a better overall experience.
You can add foam to the case to improve sound dampening, making your typing and gaming sessions quieter and more enjoyable.
We’ll also explore other case mods that can enhance the keyboard’s overall feel.
A few of the other case mods include:
- Modifying the case to add a wristrest
- Adding a USB passthrough
- Changing the color of the case
Should You Mod Your Gaming Keyboard? Attention, please!!

Before delving deep into the world of keyboard modding, it’s essential to understand the risks involved in the process.❗
However, don’t let this discourage you; all the mods discussed in this guide are thoroughly explained and easy to follow.
While it might be tempting to make complex changes to your keyboard’s printed circuit board (PCB) once you’ve gained some basic modding skills, it’s not advisable to do so.
There is a significant risk of worsening things, particularly if you are new to keyboard modification.
Take time and ensure you do things correctly, as one mistake can lead your keyboard nowhere.
I would not recommend modding your brand-new keyboard, which is under warranty.
If you return a damaged keyboard with any modifications, you are unlikely to receive a refund or replacement which becomes a financial risk.
However, if your warranty has already expired or you intentionally purchased a budget keyboard for making modifications, then there is nothing to worry about.
How to Mod a Gaming Keyboard?
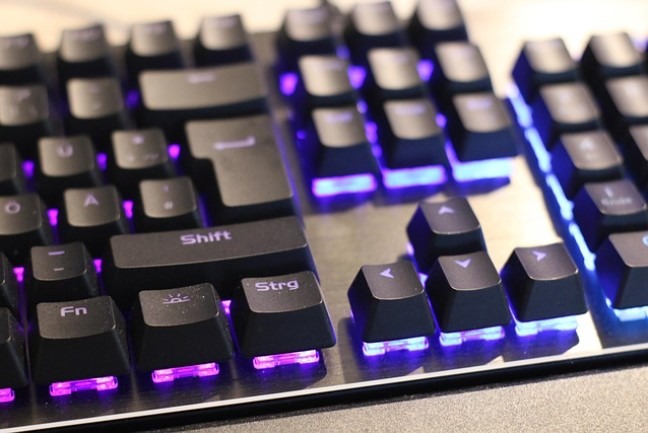
Finally, it’s showtime!!
Before starting with the process, there are a few safety precautions you need to take care:
- Ensure to unplug your keyboard from your computer before disassembling it.
- Be careful not to damage any of the components while you are disassembling and assembling the keyboard.
- If you are using a soldering iron, be careful not to burn yourself.
Gathering the necessary tools and materials
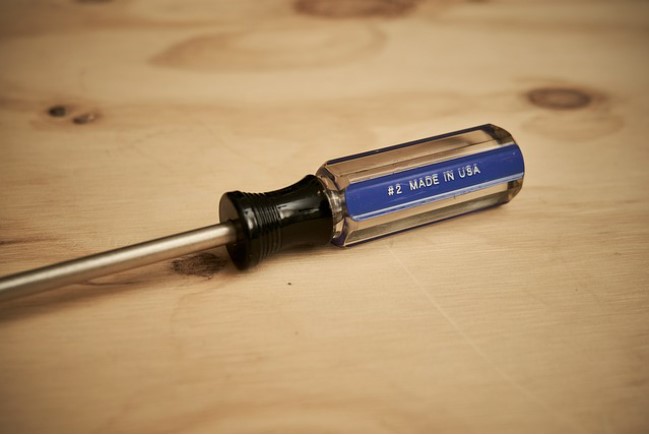
The tools and materials you will need for modding your keyboard will vary depending on the specific mods you want to perform.
However, there are a few basic tools and materials that you will need for most mods:
- A screwdriver
- A keycap puller
- Switch lube (optional)
- Switch films (optional)
- Stabilizer lube (optional)
- O-rings (optional)
- Custom cable (optional)
- Sound-dampening foam (optional)
- Desk mat (optional)
Disassembling the keyboard

To disassemble your keyboard, you will need to remove the keycaps and switches.
You can use a keycap puller to remove the keycaps. To remove the switches, you will need a screwdriver.
Once you have removed the keycaps and switches, you will be able to disassemble the rest of the keyboard.
The specific steps involved in disassembling the keyboard will vary depending on the make and model of your keyboard.
However, most keyboards can be disassembled by removing a few screws.
Changing the keycaps
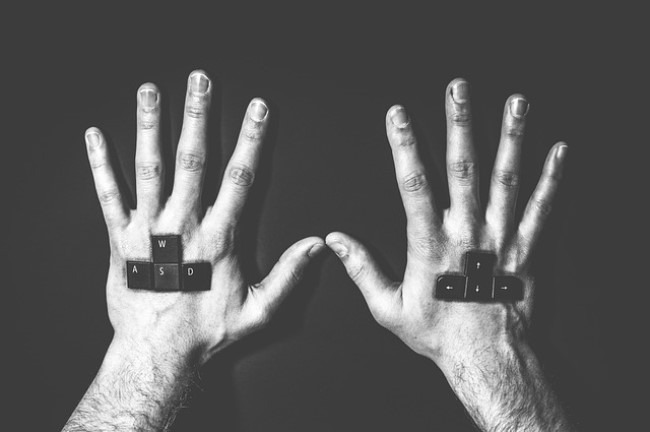
This mod is the easiest one to do and could be done in a few simple steps.
You might be wondering why you should upgrade your keycaps.
It’s because the maximum time spent while using your keyboard is with your keycaps, right?
Hence, let’s get rid of your dull and cheap-looking keycaps and replace them with your favorite high-quality keycaps.
Keycap Suggestions:
Before upgrading your keycaps, it becomes important to select the right keycaps that complement your gaming setup.
Usually, there are good keycaps available online, you can go for PBT or POM keycaps.
PBT keycaps are more resistant to shine and have a textured surface that provides a good grip.
POM keycaps are made of a hard plastic material that is known for its smooth feel and deep sound.
How to change your keycaps?
You can follow these steps and easily change your keycaps:
- Remove Existing Keycaps: Gently use a keycap puller or your fingers to pop off the old keycaps. Start with the corners and work your way around.
- Select New Keycaps: Choose keycaps that match your style and preferences. Most keycap sets come in various sizes to fit different keyboard layouts.
- Install New Keycaps: Carefully push the new keycaps onto the switches. Apply even pressure, ensuring they snap into place securely.
Upgrading the Switches
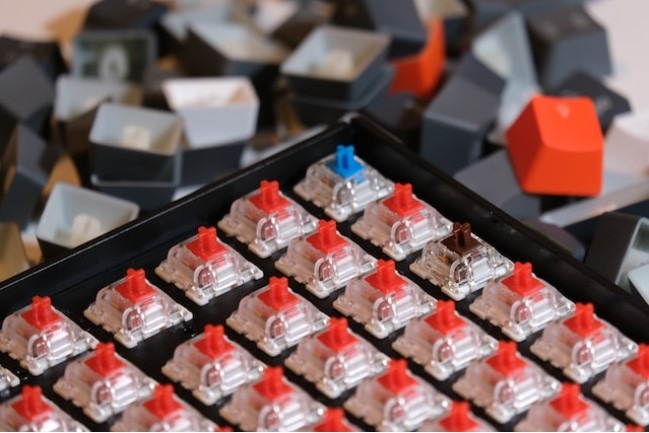
The sound and satisfying feedback of your keypress are vital while using your keyboard, and the switches play a major role in it.
We’ll discuss how you can upgrade your switches and improve your experience using your keyboard.
There are different types of switches available in the market, mainly in three categories: clicky, tactile, and linear.
Cherry MX is the most popular key switch available in different colors like Red, Blue, Brown, etc.
Each type of switch feels and sounds different. Other popular switches include Kailh and Gateron.
Many gaming keyboard provides you the option of hot-swappable switches, making it easier to replace your switches.
If your keyboard doesn’t have the option of hot-swappable switches, it may become a bit tricky and consume a lot of time figuring out how to do it.
In such a scenario, you will need to solder/de-solder the switches to add/remove them.
Note: Please be super careful while replacing the switches in case it is soldered to the PCB (Printed Circuit Board), as your one mistake may damage your entire keyboard. I recommend not doing it if you are a beginner.
I recommend you watch these tutorials for switch replacement of hot-swappable and non-hot-swappable types of keyboards.
Non-Hot-Swappable Gaming Keyboard Switch Replacement

Hot-Swappable Gaming Keyboard Switch Replacement (with & without switch puller)

Lube your Switches
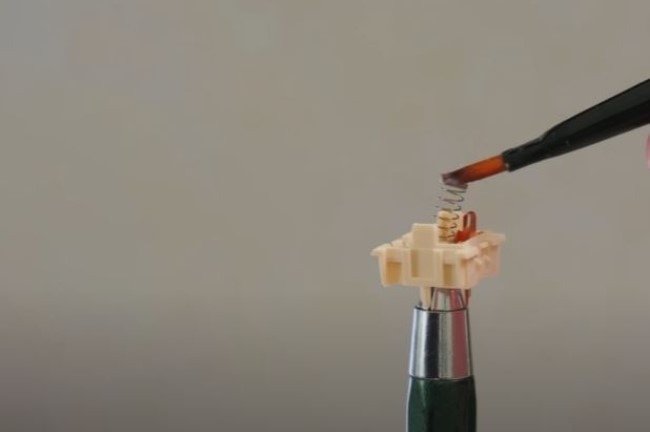
If you are unwilling to get a new switch, this process would be helpful and save you money.
Lubing your switches can improve the feel and reduce the sound of keypresses.
This involves applying a lubricant to the moving parts of the switch, such as the stem and sliders.
Lubing can make your switches smoother and quieter; however, it takes time, and you need to be patient since it requires the removal of your switches which we discussed in the last step.
You can also go for the pre-lubed switches if you don’t want to break your head with this process.
Note: If you have clicky switches, avoid lubing them. This is mainly for tactile and linear actuating switches.
You can lube your easily by following these steps:
- Remove the switches from the keyboard.
- Apply a small amount of switch lube to the stem of each switch.
- If you are using switch films, apply them to the switches before reinstalling them on the keyboard.
- Reinstall the switches in the keyboard.
Here’s a video tutorial that would be helpful for you for lubing your switches.

Install Switch Films
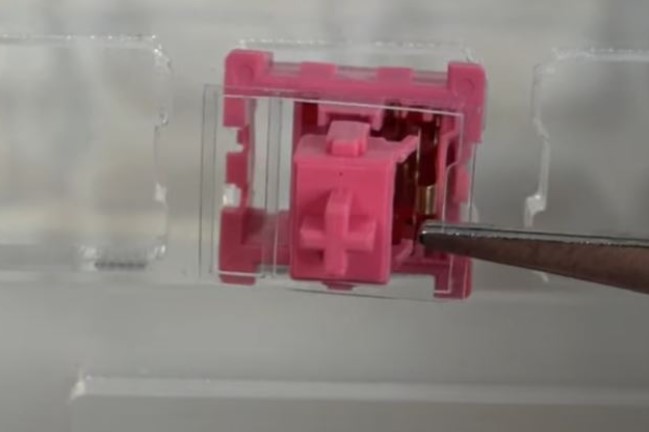
Installing switch films is a relatively easy and inexpensive way to improve the performance and feel of your keyboard.
Switch films can help to reduce noise in the keyboard and make the keyboard sound more thocky.
Switch films can also help reduce switch wobble, making the keyboard feel more stable and consistent.
You may check this video tutorial to do the process easily

Stabilizer Modifications
A stabilizer mod is a modification that can be made to the stabilizers in a gaming keyboard.
Stabilizers are the components that keep larger keys, such as the spacebar and shift keys, from wobbling. By modding your stabilizers, you can make them quieter and more stable.
Here are some of the benefits of stabilizer mods:
- Reduced noise: Stabilizer mods can help to reduce the noise of your keyboard, especially when typing on larger keys.
- Improved stability: Stabilizer mods can also help to improve the stability of your keyboard, making it less likely for larger keys to wobble.
- More consistent typing experience: By making your stabilizers quieter and more stable, stabilizer mods can help to create a more consistent typing experience.
You can follow these steps and modify your stabilizers:
- Remove the stabilizers from your keyboard.
- Apply a small amount of stabilizer lube to the stems of the stabilizers.
- If you are using dielectric grease, apply a small amount to the housings of the stabilizers as well.
- If you are using the Band-Aid mod, apply a small piece of Band-Aid to the plate of your keyboard, under the stabilizer housing.
- Reassemble the stabilizers and install them back on your keyboard.
I have also found a very good tutorial for stabilizer mod, check it out:

Adding foam to the keyboard case
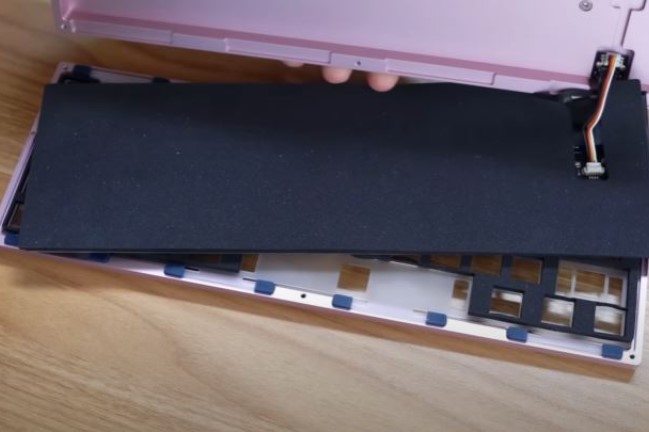
Adding foam to the keyboard case can dampen sound and make your keyboard feel more solid with a good typing sound.
To add foam to the keyboard case, simply cut the foam to size and fit it inside the case.
This is an ultra-cheap option or even free to upgrade your keyboard
You can watch this video and do it easily

Install O-rings
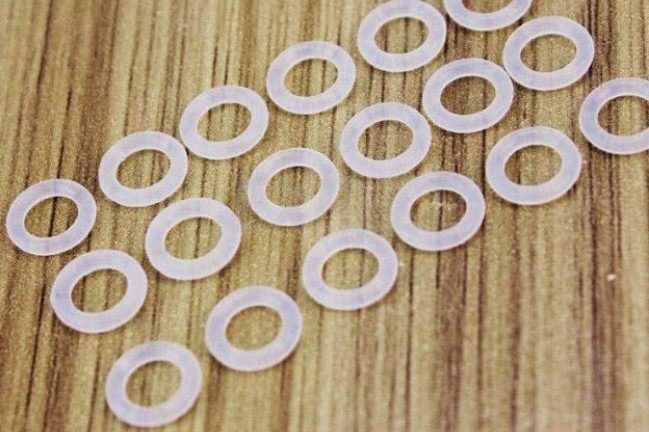
O-rings are small rubber rings that can be placed on the stems of your keycaps to reduce the sound of the keycaps bottoming out on the plate.
This is a very cheap and effective option that helps in reducing the loud sound that your keyboard makes.
To install O-rings, simply place an O-ring on the stem of each keycap. Then, install the keycaps on your keyboard.
Here’s a very easy tutorial to do it:

Grab a Desk Mat
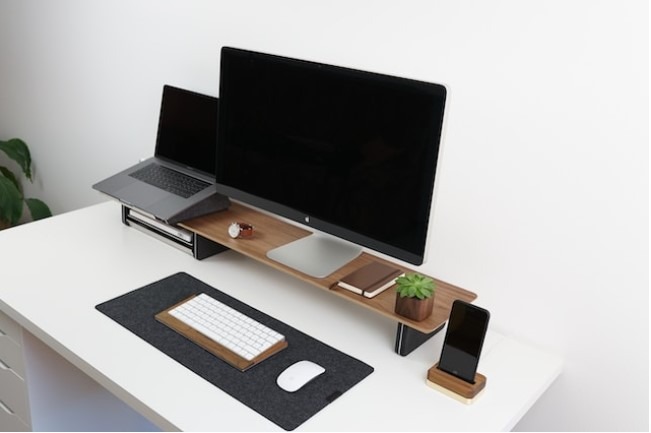
One of the easiest and cheapest ways to reduce the loud sound made by your keyboard is by getting a desk mat.
Simply keep your keyboard on the desk mat; you can also stack multiple desk mats and keep your keyboard on it for further sound improvement.
Get a custom cable
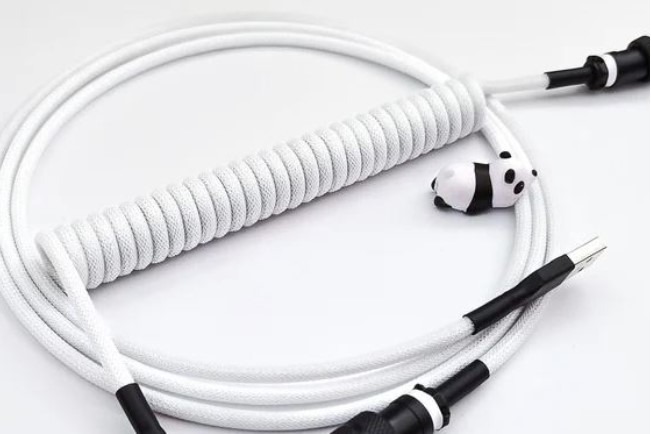
A custom cable can improve the look and feel of your keyboard. It can also be more durable than the stock cable that comes with your keyboard.
To upgrade to a custom cable, simply disconnect the old cable from your keyboard and connect the new cable to your keyboard.
Here’s a good video tutorial that would be helpful:

Conclusion
Each mod contributes to improving your gaming keyboard’s performance, feel, and sound.
Whether you’re going for a quieter typing experience, a more responsive feel, or a visually stunning setup, these step-by-step instructions will help you achieve your modding goals.
Now that you’ve successfully transformed your gaming keyboard, it’s time to enjoy the fruits of your hard work.
Your customized keyboard will not only look great but also elevate your gaming experience to a whole new level.
I hope you liked this article and got to learn a lot of new skills.
Happy Gaming!!
FAQs (Frequently Asked Questions)
What is keyboard modding?
Keyboard modding is the process of customizing your keyboard to improve its sound, feel, performance, or look.
What are the benefits of keyboard modding?
Keyboard modding can improve the sound, feel, performance, and customization options of your keyboard.
What are some common keyboard modding mistakes?
Some common keyboard modding mistakes include over-lubing switches, misaligning stabilizer housings, and using too thick Band-Aids.
What are some basic keyboard mods that I can do?
Some basic keyboard mods that you can do include changing the keycaps, lubing the switches, and adding foam to the case.
What are some advanced keyboard mods that I can do?
Some advanced keyboard mods that you can do include clipping and lubing stabilizers, desoldering and soldering switches, and modding the keyboard controller.
What tools and materials do I need to mod my keyboard?
The tools and materials you need to mod your keyboard will vary depending on the specific mods you want to perform. However, some basic tools and materials that you may need include a screwdriver, keycap puller, switch opener, and switch lube.
Is it difficult to mod my keyboard?
The difficulty of modding your keyboard will vary depending on the specific mods you want to perform. However, there are many online resources available that can teach you how to mod your keyboard safely and effectively.
Should I mod my keyboard myself or take it to a professional?
Whether you should mod your keyboard yourself or take it to a professional depends on your comfort level and skills. If you are not comfortable modding your keyboard yourself, you can take it to a professional keyboard modder.
What are some tips for keyboard modding?
Here are some tips for keyboard modding:
1. Do your research before you start modding your keyboard.
2. Start with simple mods and work your way up to more complex mods.
3. Be careful not to damage your keyboard when modding it.
4. Test your keyboard frequently to make sure that the mods you are performing are working as expected.
Also Read….
- How To Overclock a Gaming Keyboard Like a Pro [Step by Step]
- How To Game Better With A Keyboard And Mouse [Step by Step]
- How to Build a Custom Gaming Keyboard [Step by Step]
- How to Connect and Use Your Gaming Keyboard [Step by Step]
- Gaming Vs Normal Keyboards: Which is Right for You?
- How To Clean and Maintain a Gaming Keyboard Like a Pro
- How to Type Faster on a Gaming Keyboard [Step-by-Step]
- How To Choose a Gaming Keyboard [Ultimate Buying Guide 2024]
- How to Troubleshoot Your Gaming Keyboard Like a Pro
Hi, I’m Vishal, founder of Gaming Bar, your ultimate hub for gaming and tech gear. I am passionate and dedicated to improving your gaming experience and providing honest reviews about gaming and tech products. You’ll find plenty of honest, unbiased reviews, buying guides, and expert opinions presented in an engaging manner. All I ask is that you share my blog posts and support me.
