Imagine this: you’re in the middle of an exciting gaming adventure.
Suddenly, your keyboard starts to feel sticky and unresponsive. You hit a key, and nothing happens.
You try another, and it’s like the keyboard’s on vacation. You’re starting to panic. What’s going on?
What in the world is happening here?
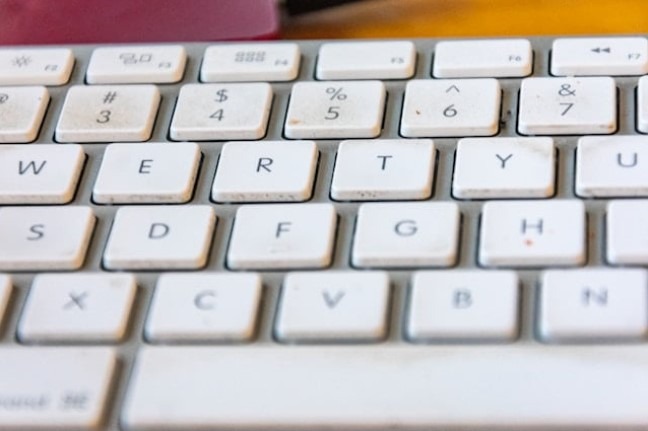
Most likely, your keyboard is simply dirty!
Over time, your gaming keyboard collects all sorts of stuff like dust bunnies, crumbs, and who-knows-what-else, making it hard for those keys to do their job.
If you live in India, where dust and humidity are like best friends, this issue becomes even more of a headache.
That’s why showing your gaming keyboard some love and attention regularly becomes essential.
A clean keyboard stays in the game longer, performs like a champ, and makes your gaming sessions way more fun.
In this exciting guide, I will show you how to clean and maintain a gaming keyboard easily by following simple steps.
So, Let’s dive in.
Understanding Your Gaming Keyboard: The Unsung Hero of Your Setup
Before we jump into the details of how you can take care of your gaming keyboard, let’s pause for a moment to know our gaming keyboard better.
Don’t worry, we won’t be throwing any confusing technical jargon your way.
Instead, we’ll keep it easygoing and approachable.
Membrane vs. Mechanical: What’s the Deal?
Ever wondered why your friend’s keyboard feels different from yours?
Well, it might be because you’re using different types of keyboards.
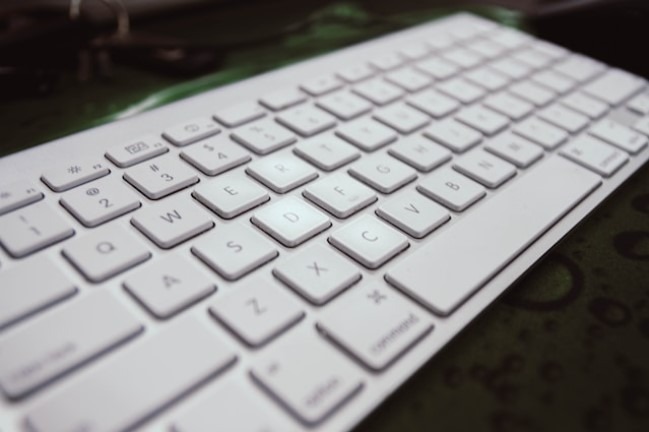
Membrane keyboards are like the silent ninjas of the gaming world, while mechanical keyboards are the clicky, tactile warriors.
Unique Features that Level Up Your Game
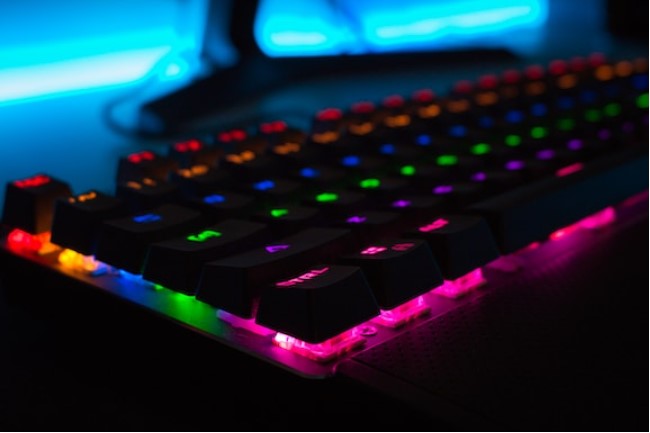
Your gaming keyboard isn’t just a regular keyboard with fancy lights (though those do look pretty cool, right?).
It’s designed with gamers in mind, packing features that give you an edge.
A gaming keyboard offers features customizable RGB lighting, dedicated macro keys and much more.
The Power of Regular Cleaning
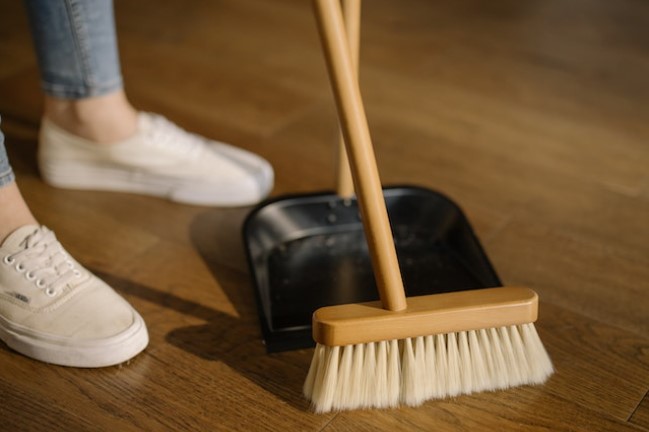
Now, here’s the real kicker – did you know that cleaning your gaming keyboard can make a world of difference?
Yes, it’s not just about aesthetics; it’s about performance.
We’ll explain why regular cleaning is essential to keep your gaming keyboard in tip-top shape and help you avoid those frustrating keypress hiccups.
So, let’s get started with our cleaning and maintenance guide for your gaming keyboard.
Tools and Materials You’ll Need

Alright, gaming champs, now that we’re all set to show some love to our gaming keyboards, it’s time to gather our cleaning tools.
A tidy gaming keyboard doesn’t require a secret formula or high-tech equipment.
All you need are a few basic supplies that you probably already have lying around.
1. Soft Microfiber Cloth:
A soft microfiber cloth is gentle but effective in wiping away dust particles without harming your keyboard. You probably have one around to clean your glasses, right? It’s that versatile!
2. Cleaning Solution (Homemade or Store-Bought)
You can use a store-bought keyboard cleaning solution or make your own by mixing water and a few drops of dish soap (yep, the same one you use for your dishes)
3. Compressed Air Canister
A can of compressed air is great for blowing out stubborn dust and debris hiding between the keys.
4. Keycap Puller (For Mechanical Keyboards)
If you’re rocking a mechanical keyboard (the clicky and tactile ones), this tiny tool will be your best friend.
It helps you pop off the keycaps easily for a deep clean without breaking a sweat.
Tips for using cleaning supplies

- When using a cleaning solution, ensure to dampen the microfiber cloth, not soak it. You don’t want to get any liquid into the keyboard.
- Be careful when using compressed air. Don’t hold the can too close to the keyboard, as this could damage the switches or other components.
- If you have a mechanical keyboard, be sure to use a keycap puller to remove the keycaps before cleaning. This will allow you to clean the keyboard base and keycaps more thoroughly.
Preparing Your Workspace
Now that we’ve got our cleaning gear sorted, let’s talk about setting up the stage for your gaming keyboard’s spa day.
It’s all about creating the perfect environment for a successful clean-up mission!
1. Set Up a Well-Lit and Clean Area

It’s hard to see dust and dirt in a dark room, so find a spot with good lighting to clean your keyboard. This will make it easier to spot dirt and ensure a thorough clean.
2. Place Your Keyboard on a Flat Surface
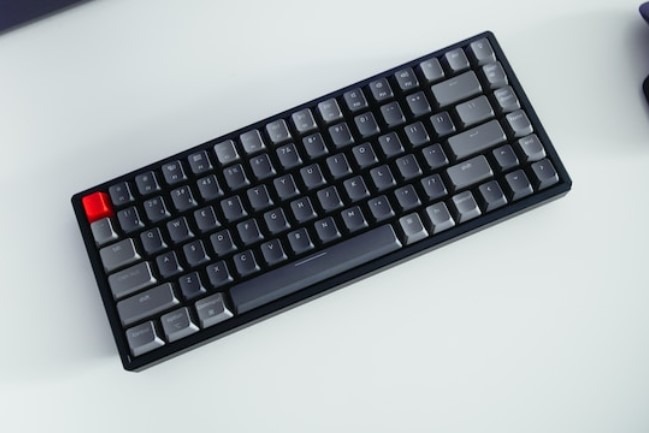
Imagine trying to clean a wobbly keyboard on your lap – not fun, right?
To keep things steady and hassle-free, find a flat and stable surface like a table or desk.
This way, your keyboard won’t do the “keyboard dance” while you clean.
3. Unplug the Keyboard or Turn Off Wireless Connectivity
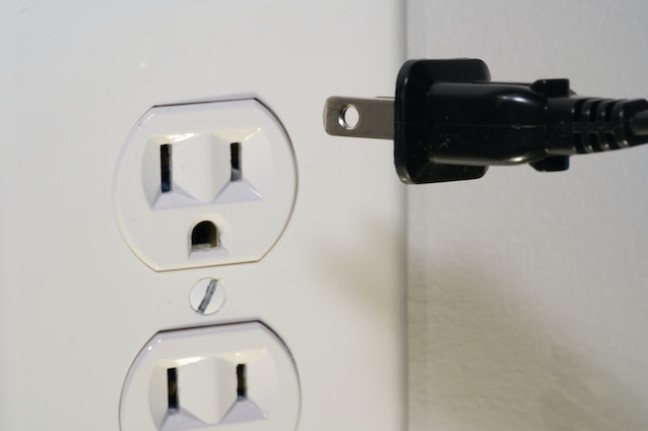
Safety first, folks!
Before you dive into cleaning, make sure your gaming keyboard is disconnected from your computer or, if it’s wireless, turned off.
This prevents any accidental key presses or mishaps while you’re cleaning it.
Removing Loose Debris
1. Shake the keyboard gently to remove loose crumbs and dust:
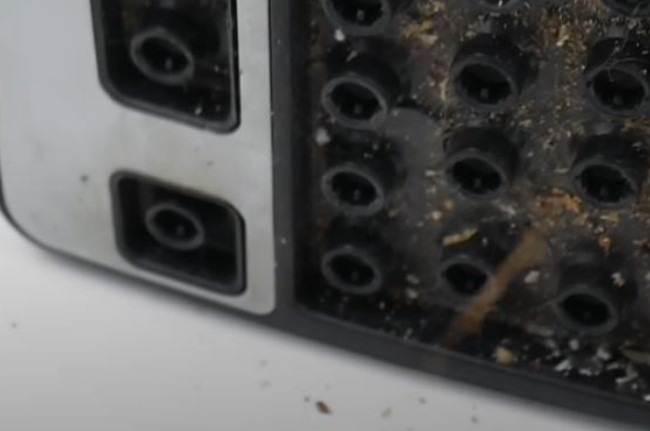
Imagine your keyboard is a dusty rug. Shake it gently to get rid of any loose crumbs or dust particles. You don’t need to shake it hard, just enough to loosen up the dirt.
2. Use compressed air to blow away stubborn dirt:
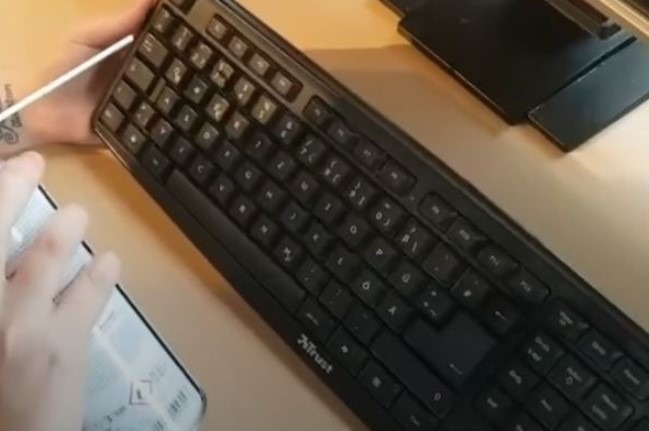
Compressed air is a great way to remove dirt from your keyboard.
Hold the can upright and spray the air between the keys. Be careful not to hold the can too close, as this could damage the keyboard.
3. Pay attention to the small spaces and corners:
Dirt loves to hide in the small spaces and corners of your keyboard. Be sure to spray compressed air in these areas as well.
Cleaning the Keycaps
1. Removing keycaps (for mechanical keyboards)
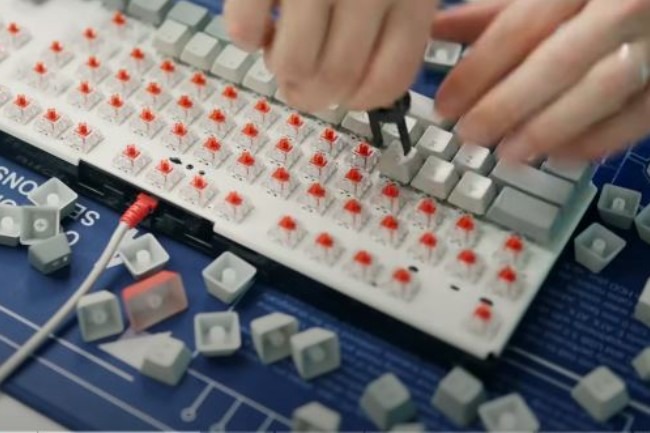
If you have a mechanical keyboard, you’ll need to remove the keycaps before cleaning them.
You can use a keycap puller to remove the keycaps, which is a small tool that usually comes with your keyboard itself, or you can get it from your local computer store.
To use a keycap puller, simply place it over the keycap and pull it upwards.
The keycap should pop off easily. Be careful not to pull too hard, as this could damage the keyboard.
2. Soaking keycaps in warm, soapy water
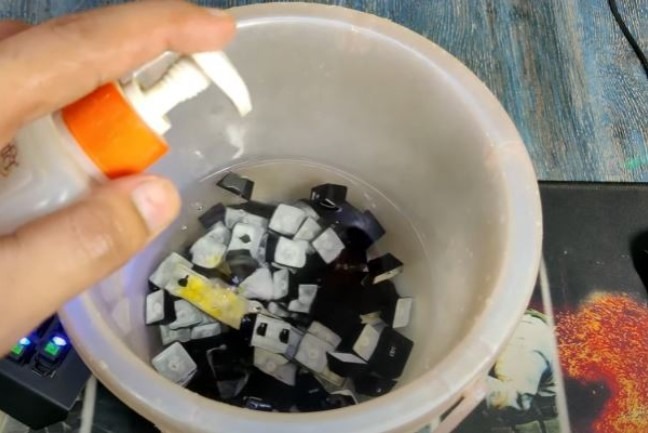
Once you’ve removed the keycaps, soak them in a bowl of warm, soapy water for a few minutes.
This will help to loosen any dirt or grime that may be on them.
3. Scrubbing and rinsing keycaps
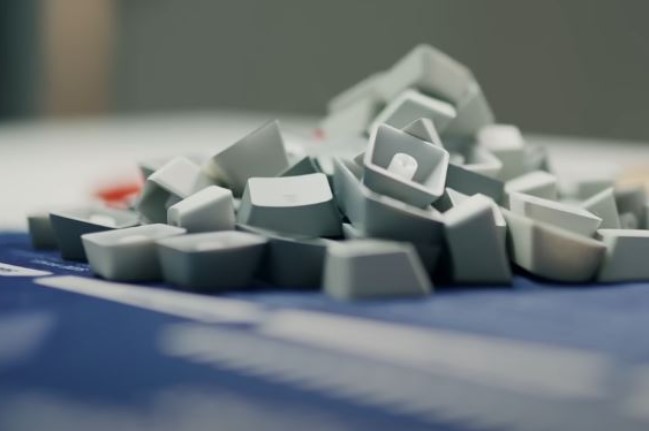
After soaking the keycaps, use a soft brush to scrub them clean. Be sure to pay attention to the underside of the keycaps, as this is where dirt and grime tend to accumulate.
Once you’ve scrubbed the keycaps, rinse them thoroughly under running water to remove any soap residue.
4. Drying keycaps completely
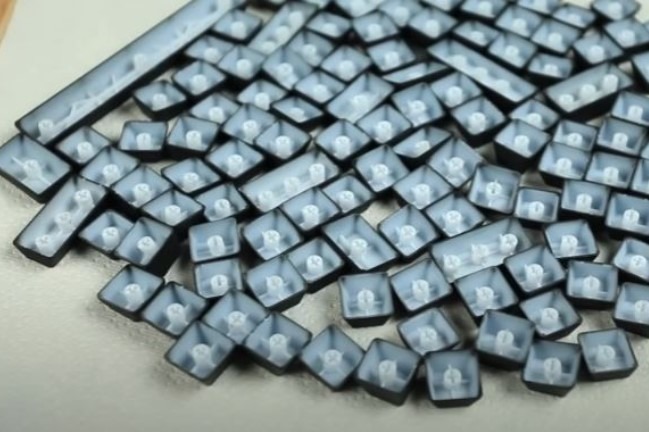
Once the keycaps are rinsed clean, dry them completely with a microfiber cloth.
It’s important to make sure that the keycaps are completely dry before reassembling your keyboard, as any moisture could damage it.
Tips for cleaning keycaps
- If you have any stubborn dirt or grime on your keycaps, you can try soaking them in a solution of equal parts water and vinegar for a few minutes before scrubbing them.
- Be careful not to use any harsh chemicals or abrasive cleaners when cleaning your keycaps, as this could damage them.
- If you have any delicate keycaps, such as those with LED lights, you may want to clean them with a damp cotton swab instead of scrubbing them.
By following these tips, you can keep your keycaps clean and looking their best.
Cleaning the Keyboard Surface
Now that we’ve pampered our keycaps, it’s time to turn our attention to the keyboard’s surface.
1. Dampen a microfiber cloth with a cleaning solution

Grab a microfiber cloth and dampen it with a small amount of cleaning solution. Don’t soak the cloth, as this could damage the keyboard.
2. Wipe down the keyboard surface, paying attention to the keys
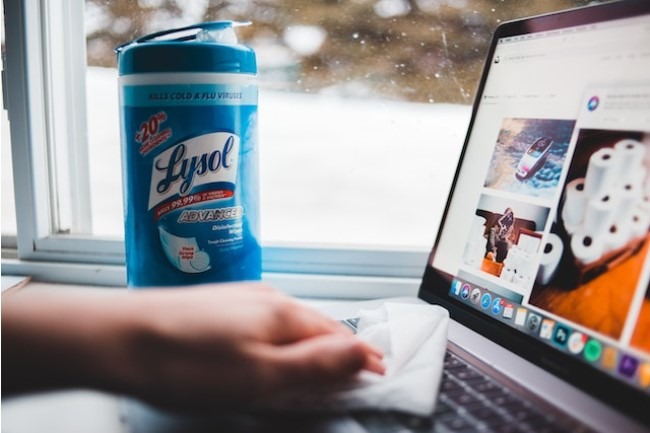
Gently wipe down the entire keyboard surface, paying attention to the keys that you use the most.
3. Cleaning process for different keyboard materials
Different keyboard materials require different cleaning care.
Here are some tips:
- Plastic keyboards: Plastic keyboards are the most common type of keyboard.
To clean a plastic keyboard, simply wipe it down with a damp microfiber cloth.
You can also use a mild dish soap solution to remove dirt or grime. - Metal keyboards: Metal keyboards are less common, but they are also more durable.
To clean a metal keyboard, wipe it down with a damp microfiber cloth.
You can also use a metal polish to remove fingerprints and smudges. - Mixed-material keyboards: Some keyboards are made of a mix of materials, such as plastic and metal.
To clean a mixed-material keyboard, wipe it down with a damp microfiber cloth and a mild dish soap solution.
Maintaining the Keyboard’s Performance
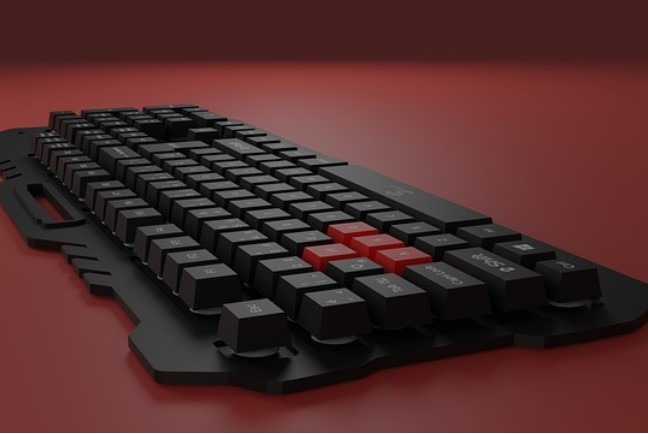
Just like any other piece of equipment, your keyboard needs regular maintenance to keep it performing at its best.
Dust, dirt, and grime can build up on your keyboard over time, making it difficult for the keys to register properly.
This can lead to missed keystrokes, delays, and other performance issues.
Cleaning Schedule for gamers

If you’re a gamer, you’ll want to clean your keyboard more often than someone who uses it for basic tasks like browsing the web and typing emails.
A good rule of thumb is to clean your keyboard once a month, or more often if you use it for long hours.
Tips on preventing future dirt build-up

There are a few things you can do to prevent future dirt build-up on your keyboard:
- Avoid eating or drinking while using your keyboard.
- Keep your keyboard away from dust and humidity.
- Use a keyboard cover when you’re not using it.
Additional Tips
Here are some additional tips for maintaining the performance of your gaming keyboard:
- Update your keyboard’s firmware regularly.
- Use a keyboard driver that is optimized for gaming.
- Keep your keyboard’s surface clean and free of debris.
- Avoid using harsh chemicals or abrasive cleaners on your keyboard.
Reassembling Your Gaming Keyboard

Finally, it’s time to put everything back in place.
Keycap reassembly process (for mechanical keyboards):
Once your keycaps are clean and dry, it’s time to reassemble your keyboard.
To do this, simply follow the steps in reverse order of how you removed the keycaps.
Here are some tips for reassembling your keyboard:
- Make sure that the keycaps are completely dry before reassembling them.
- Be careful not to damage the keyboard switches when reattaching the keycaps.
- Make sure that all of the keycaps are securely in place before using your keyboard again.
Ensuring all components are securely in place:
Once you have reattached all of the keycaps, test your keyboard to make sure that all of the keys are working properly.
If any of the keys are not working, try reattaching the keycap or checking the keyboard switch for damage.
Here are some additional tips for ensuring that all of the components of your keyboard are securely in place:
- Use a small screwdriver to tighten any loose screws.
- Make sure that the keyboard cable is securely plugged into your computer.
- Test all of the keys on your keyboard to make sure that they are working properly.
Final Checks and Testing

Reconnect the keyboard to your gaming setup
Once you have reassembled your keyboard, it’s time to reconnect it to your gaming setup.
Simply plug the keyboard cable into your computer’s USB port.
Test all keys and ensure they function correctly
Once the keyboard is plugged in, test all of the keys to make sure that they are working properly.
You can do this by opening a text editor and typing a few sentences.
If any of the keys are not working, try reattaching the keycap or checking the keyboard switch for damage.
Conclusion
Cleaning your gaming keyboard is not just about making it look nice. It’s also about making it work better, last longer, and keep you healthy.
So why not show your keyboard some love?
By taking care of your keyboard, you’re making sure it will be there for you for many more gaming victories. It’s a small effort with big rewards.
So, next time you’re looking at your clean keyboard, remember that you’re not just maintaining a piece of hardware.
You’re also caring for a faithful companion that’s been with you through all your virtual adventures. With your sparkling keyboard and renewed confidence, you’re ready to conquer new gaming horizons!
I hope I have helped you with how to clean and maintain a gaming keyboard.
Thanks for reading my blog. 🙂
Keep gaming, and may your victories be even sweeter with your well-cared-for keyboard by your side!
FAQs (Frequently Asked Questions)
How often should I clean my gaming keyboard?
Clean your gaming keyboard once a month, or more often if you use it for long hours.
What should I use to clean my gaming keyboard?
Use a microfiber cloth and a mild cleaning solution, such as dish soap and water. Avoid using harsh chemicals or abrasive cleaners.
How do I remove the keycaps from my gaming keyboard?
To remove the keycaps from a mechanical keyboard, you will need a keycap puller. This is a small tool that you can buy online or at most computer stores.
What are some common signs that my gaming keyboard needs to be cleaned?
Some common signs that your gaming keyboard needs to be cleaned include:
1. The keys are sticky or unresponsive.
2. There is a lot of dust or dirt on the keyboard surface.
3. The keyboard has a strange odor.
4. The keyboard is difficult to type on.
How do I clean the keycaps on my gaming keyboard?
You can clean your keycaps by soaking them in a bowl of warm, soapy water for a few minutes and then scrubbing them gently with a soft brush.
Also Read….
- How To Overclock a Gaming Keyboard Like a Pro [Step by Step]
- How To Game Better With A Keyboard And Mouse [Step by Step]
- How to Build a Custom Gaming Keyboard [Step by Step]
- How To Mod a Gaming Keyboard [Step-by-Step]
- How to Connect and Use Your Gaming Keyboard [Step by Step]
- Gaming Vs Normal Keyboards: Which is Right for You?
- How to Type Faster on a Gaming Keyboard [Step-by-Step]
- How To Choose a Gaming Keyboard [Ultimate Buying Guide 2024]
- How to Troubleshoot Your Gaming Keyboard Like a Pro
Hi, I’m Vishal, founder of Gaming Bar, your ultimate hub for gaming and tech gear. I am passionate and dedicated to improving your gaming experience and providing honest reviews about gaming and tech products. You’ll find plenty of honest, unbiased reviews, buying guides, and expert opinions presented in an engaging manner. All I ask is that you share my blog posts and support me.
