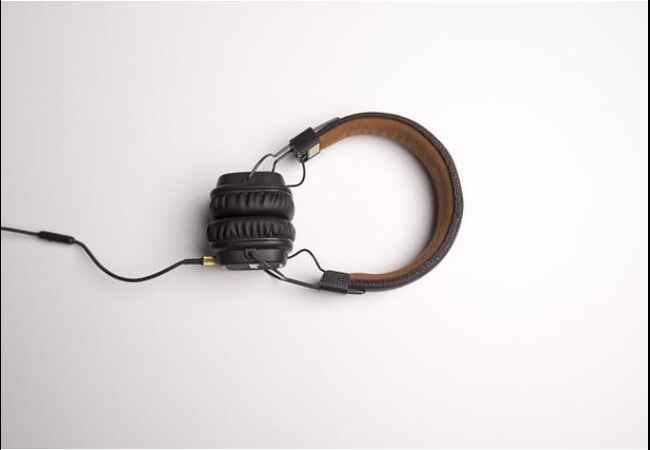
A good gaming headset could make a day or night difference in your gaming experience.
When you are completely lost in the virtual world during an intense gaming session, it’s also because of the amazing sound effects of your gaming headset. You can hear every footstep crisp and clear, judge the position of your enemy with high accuracy, and enjoy your game fully.
Your gaming headset is like your loyal friend, helping you hear everything and giving you an edge in the game. But when was the last time you took care of your gaming headset?
A dirty headset doesn’t look good and causes issues like muffled sound or creaking headbands in the long run. It also helps to prevent ear infections and improves hygiene in general.
But don’t worry if it’s been a long time since you cleaned your headset or never did it; we are here to help you.
In this blog post, I will discuss how you can easily clean your gaming headset and many other useful tips for maintenance so it can give crystal clear audio and support you for a long time.
So, let’s dive in.
How to Clean and Maintain Your Gaming Headset for Optimum Performance
Step 1: Prep Time!

Before we dive into the nitty-gritty, let’s gather our supplies. You don’t need a treasure chest, just:
- A soft cloth (microfiber is king).
- Warm water (not scalding hot, please).
- A gentle soap (baby shampoo works wonders).
- Some cotton swabs.
Step 2: Unplug and Power Down

Safety first, adventurers! Ensure your headset is unplugged from your gaming device and powered down if it’s wireless. No one wants any surprises.
Step 3: The Dust Buster

Grab your trusty cloth and start with a gentle wipe-down. Start with the headband and work your way down to the earcups. Dust doesn’t stand a chance against us!
Step 4: Ear Cushion Check
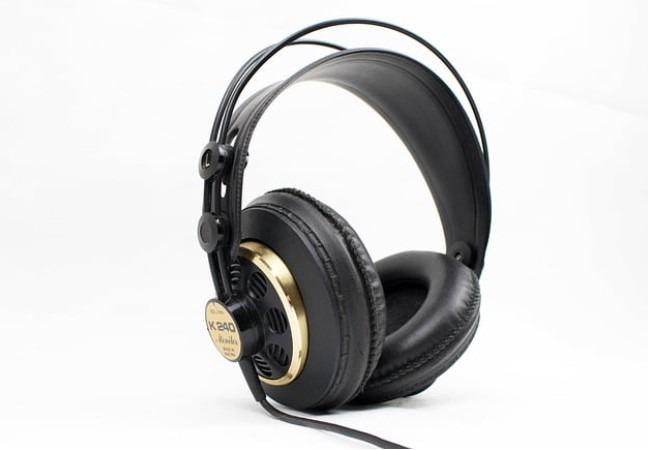
Some headsets have detachable ear cushions. If yours does, carefully remove them.
Don’t worry; we’ve got instructions below if you need help with how. Please give them a wipe-down, too.
- Gently hold the edge of the ear cushion and see if it easily detaches from the headset. If it does, proceed to the next step. If it doesn’t, don’t force it – not all headsets have detachable cushions.
- Once you’ve removed the cushion (if applicable), inspect it for dirt, sweat, or buildup.
- Dampen a clean cloth with the soapy water mixture (as mentioned in Step 5), and gently wipe down both sides of the ear cushion. Pay extra attention to any areas with visible dirt or grime.
- After wiping, use a different clean cloth dampened with plain warm water to wipe off any soap residue from the ear cushion.
- Allow the ear cushion to air dry completely. It’s essential to ensure it’s dry before reattaching it to your headset.
- If your ear cushion doesn’t detach, don’t worry. You can still clean it by gently wiping the surface with a damp cloth, being careful not to get water into the headset’s inner components.
- Once the cushion is dry (or you’ve finished wiping it down), you can reattach it to your headset if it is removable. Follow any manufacturer’s instructions for proper reattachment.
Step 5: Mix a Soapy Solution

Now, let’s make our cleaning mixture. Just add a few drops of your mild soap to warm water. You don’t need a big pot for this – a small bowl works perfectly fine!
Step 6: Dampen Your Cloth

Dip your cloth into the soapy mix. You want it damp but not soaking. Remember, electronics don’t like to swim! 😁
Step 7: Gentle Wipe-Down

It’s time to give your headset a gentle wipe-down with your damp cloth. Be careful around wires and connectors – we’re here to clean, not to short-circuit.
Step 8: Get into the Small Spaces
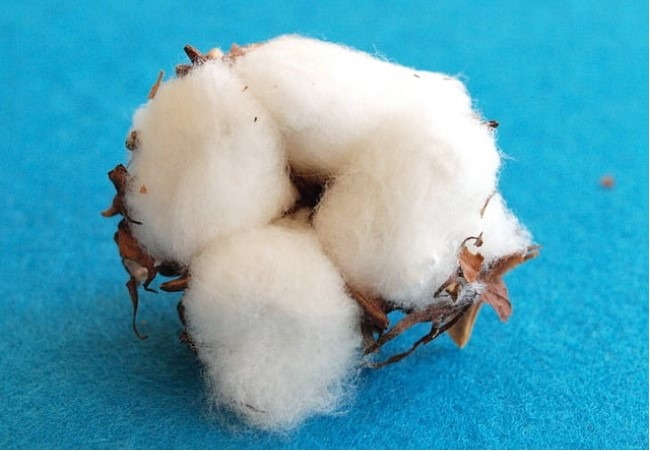
Time to use cotton swabs! These little heroes can help you clean the small, hard-to-reach spots in your ear cups. Remember, be gentle – we’re cleaning, not solving a mystery!
Step 9: Rinse and Dry

Use another clean cloth dampened with plain warm water to wipe down your headset again, removing any soap residue.
Now, let your headset air dry completely before plugging it back in. Please be patient and let the headset completely dry.
Step 10: Reassemble
If you took apart your ear cushions and other parts, it’s time to reattach them. Check the instructions if you need help with how. You’ve got this!
Step 11: Keep the Love Alive

Now that your headset is fresh and comfy again, let’s keep it that way:
- Store it safely when not in use.
- Don’t wrap the cord too tightly.
- Make cleaning a regular ritual, especially if you’re a gaming wizard.
Conclusion
There you have it, fellow gamers! Your trusty gaming headset is now refreshed and ready for action. Cleaning and maintaining it doesn’t have to be an epic quest.
With a little love and attention, it’ll stay your loyal companion through countless gaming adventures.
So, put on your headset and dive back into your favorite virtual realms with crystal-clear sound and unbeatable comfort.
May your victories be legendary and your headset forever comfy.
Happy gaming! 😎
Frequently Asked Questions
Can I use rubbing alcohol to clean my gaming headset?
No, avoid harsh chemicals like rubbing alcohol as they can damage the material. Mild soap and water are best.
My headset microphone crackles after cleaning. What do I do?
Ensure the microphone connection is dry and free of debris. If persistent, contact the manufacturer for support.
How often should I clean my gaming headset?
At least once a month, more often if you sweat heavily or use it daily.
Are there any special cleaning solutions for gaming headsets?
Not necessary. Mild soap and water are sufficient for most headsets. Avoid compressed air, as it can force dirt deeper.
My cat likes to chew on my headset cable. Is there a way to protect it?
Use cable sleeves or organizers to deter chewing. Keep your headset out of reach when not in use.
Do open-back headsets get dirtier than closed-back ones?
Yes, as dust and debris can more easily enter the drivers. Be sure to clean them more frequently.
Also Read….
- Why Are Gaming Headsets So Big? [13 Reasons]
- Are Gaming Headphones Good for Calls [2024]
- How Do Gaming Headsets Work? [2024]
- How To Set Up Gaming Headphones Like a Pro
- What to Look for in a Gaming Headset [Buying Guide 2024]
- Virtual Surround Sound In Gaming Headphones Explained
- Gaming Headsets Vs Regular Headsets: Which Should You Choose?
- How To Fix Common Problems With Gaming Headphones
- How To Improve Audio Quality on Gaming Headset [2024]
- How to Choose Best Gaming Headset for Streaming [2024]
Hi, I’m Vishal, founder of Gaming Bar, your ultimate hub for gaming and tech gear. I am passionate and dedicated to improving your gaming experience and providing honest reviews about gaming and tech products. You’ll find plenty of honest, unbiased reviews, buying guides, and expert opinions presented in an engaging manner. All I ask is that you share my blog posts and support me.
